Close Menu
Cherry Barton
Business
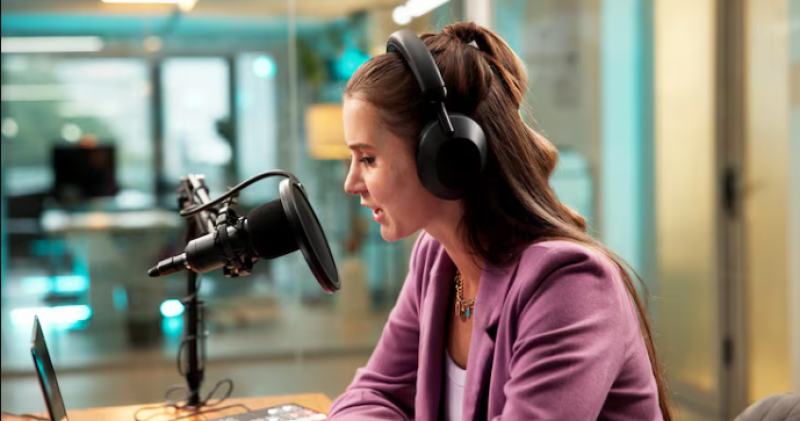
Master Your microphone setup for Pro Voiceover Results
Getting that perfect sound is a bit like baking a cake. You can have the best flour and sugar, but if your oven is off, the result is flat. In the world of voiceovers, your gear is only half the battle. The real magic happens when you understand how to place your equipment in a way that captures the true essence of your unique voice.
Many beginners think that buying an expensive microphone is a shortcut to success. While quality gear helps, it won't save you from a bad room or poor positioning. You need to create an environment where your voice can shine without being drowned out by echoes or background hums. It is all about the subtle art of preparation before you hit that record button.
The First Steps to a Great studio mic setup
Before you even plug anything in, look at your space. A professional studio mic setup starts with choosing the right corner of the room. Avoid standing right in the middle, as that is where sound waves love to bounce around and create muddiness. Instead, look for a spot with soft surfaces like curtains or bookshelves to help absorb those pesky reflections.
Once you have picked your spot, think about height. You should never be hunching over or straining your neck to reach the capsule. Your stand should be adjusted so the center of the mic is level with your mouth. This keeps your airway open and your posture straight, which is essential for maintaining a consistent tone throughout a long recording session.
Why Your microphone setup Dictates Your Audio Quality
The relationship between you and your gear is a physical one. A solid microphone setup means finding the right distance. If you are too close, you get too much bass; too far, and you sound thin and distant. Usually, about six to eight inches is the sweet spot for most voices, providing a natural balance of warmth and clarity.
Don't forget the importance of a shock mount. This little cage keeps floor vibrations and desk bumps from traveling up the stand and into your audio. It is a small detail that makes a massive difference when you are doing high-energy reads. Without it, every foot tap or chair creak becomes a permanent part of your recording that is nearly impossible to remove later.
Advanced studio mic setup Hacks for Home StudiosIf you don't have a professional booth, don't panic. You can improve your recording quality by using thick moving blankets or even a heavy duvet draped over a couple of tall stands. This DIY approach creates a temporary vocal booth that kills high-frequency reflections and gives your voice that "dry" studio sound that producers and engineers absolutely love to work with.
Another pro tip is to angle your equipment slightly. Instead of speaking directly into the diaphragm, tilt the mic about 15 degrees to the side. This simple move helps air blasts from "P" and "B" sounds—those annoying plosives—pass by the capsule rather than hitting it head-on. It is a simple mechanical fix that saves you hours of tedious editing in the long run.
Choosing the Right Tools for Your microphone setup
Every voice is different, so not every mic will work for you. Some are bright and crisp, while others are dark and warm. When you are building your rig, try to test a few different options if you can. A large-diaphragm condenser is usually the standard for voiceovers because it captures so much detail, making your performance feel intimate and professional.
Cables matter too. Don't skimp on your XLR leads. A cheap cable can introduce unwanted buzz or radio interference into your signal. Using well-shielded, high-quality connections ensures that the only thing your computer hears is your voice. It is an investment in your peace of mind and the reliability of your studio workflow for years to come.
Managing Your studio mic setup During a Session
Once you are in the zone, stay there. Consistency is the hallmark of a pro. Try not to move your head around too much while you are speaking. If you turn away to read a script, your volume and tone will shift, making it hard for an editor to piece your takes together. Keep your script directly in front of you.
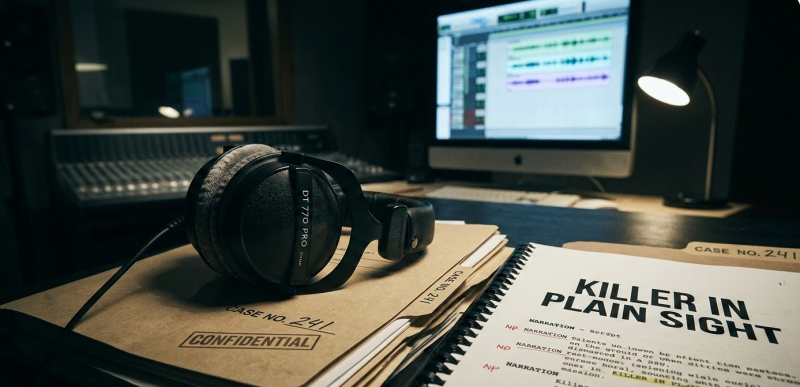
Monitor your audio with a good pair of closed-back headphones. This allows you to hear exactly what is being recorded without the sound leaking back into the mic. It helps you catch mouth clicks or distant sirens in real-time, so you can stop and redo the line immediately rather than finding the mistake after the client has already received the files.
Perfecting Your microphone setup for Long Narrations
Long-form projects like audiobooks require a setup that supports your body. If you are standing for three hours, you will get tired, and your voice will change. Make sure your workspace is ergonomic. If you prefer to sit, use a chair that doesn't squeak and allows you to keep your chest open for deep, supported breathing throughout the entire performance.
Hydration is also a technical factor. Dry mouths create more "clicky" noises that your sensitive gear will pick up. Keep a glass of room-temperature water nearby. By taking care of your physical needs alongside your technical ones, you create a sustainable environment where you can produce high-quality work day after day without burning out or losing your vocal edge.
Final Touches for Your studio mic setup
Before you wrap up, check your gain levels one last time. You want your signal to be loud enough to be clear, but not so loud that it hits the red and distorts. Aim for your peaks to sit around -6dB. This gives you plenty of "headroom" for post-production while keeping your noise floor low enough that the background is silent.
Your studio is your instrument. Treat it with respect, keep it clean, and constantly look for small ways to improve your sound. Whether it is adding a new piece of foam or slightly adjusting your stand, every little bit helps you move closer to that flawless, broadcast-quality recording that clients are willing to pay top dollar for.
Conclusion
Building a professional recording space is a journey, not a destination. By focusing on the fundamentals of placement, acoustics, and gear maintenance, you set yourself up for long-term success. Remember that your voice is the star, and your equipment is there to support it. With the right approach, you can turn any quiet room into a world-class studio.
Source:
Click for the: Full Story
You might like